

Start With Layout: The Decisions That Lock In Cost
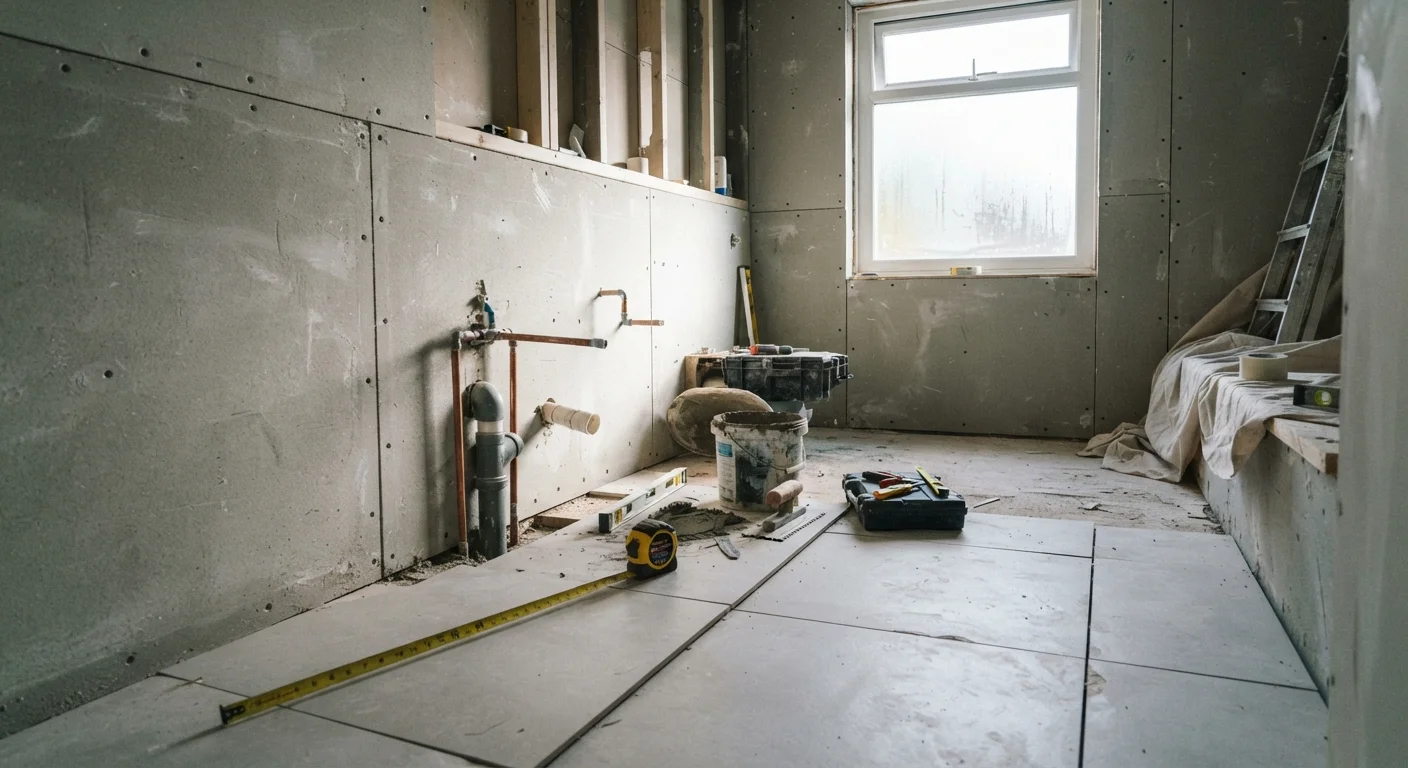
Every bathroom renovation begins with a layout decision, and that decision carries more financial weight than almost anything else in the project. Moving a toilet, relocating a shower drain, or shifting a vanity to a new wall all require rerouting drain lines - work that lives inside your floor or wall structure and costs significantly more than surface-level changes.
The guiding principle: keep fixtures in their existing footprint unless there is a compelling functional reason to move them. A toilet repositioned by even 12 inches can add thousands of dollars to a project, because it typically requires breaking concrete or re-framing the floor to run a new drain at the correct slope (typically ¼ inch drop per foot of horizontal run).
When evaluating your layout, sketch the existing footprint and mark the locations of the main drain stack, supply lines, and any exterior walls. Shower niches, double vanities, and soaking tubs all look appealing on a mood board - but each has structural and plumbing implications worth pricing out before committing.
Before finalizing any layout change, ask your plumber to locate the main drain stack and map existing drain slopes. A quick assessment - often a single service call - can tell you definitively which moves are feasible without major structural work.
Drain relocation is the single largest cost driver in bathroom renovations; knowing your constraints early prevents expensive redesigns mid-project.
Install blocking (solid lumber between studs) in shower and toilet walls during framing, even if you don't plan to add grab bars now. Retrofitting blocking later requires opening finished walls.
Accessibility needs change over time, and blocking costs very little to add during rough-in but a great deal to add after tile is set.
Just as with furniture layout choices, traffic flow matters in a bathroom: the door swing, toilet clearance (typically 15 inches from center to any side obstruction per code), and the space between the vanity and the opposite wall all affect daily usability.
Permits and Code Requirements
In most US jurisdictions, a bathroom renovation that touches plumbing, electrical wiring, or structural elements requires one or more building permits. Skipping permits is a common temptation - but it creates real problems at resale, can void homeowner's insurance claims, and may require you to open walls for a municipal inspection after the fact.
Always Verify Permit Requirements Locally
Building codes and permit thresholds vary significantly between US municipalities, counties, and states. What requires a permit in one jurisdiction may not in another - and vice versa. Before any work begins, contact your local building or planning department directly to confirm what your specific project requires. Do not rely solely on contractor assurances or general online guidance.
Cosmetic-only updates - replacing a toilet with an identical unit, swapping light fixtures on an existing circuit, retiling a shower on sound substrate - typically do not require permits. But adding a new circuit, relocating a drain, or removing a wall almost always does. Check with your local building department before any work begins; requirements vary by municipality.
When a licensed plumber or electrician pulls permits, they assume responsibility for code compliance on their portion of the work. If you are acting as your own general contractor, you may be required to pull the overall building permit yourself. Keep all permits and inspection sign-offs; they become part of your home's legal record.
For projects that involve removing walls, also consider whether that wall could be load-bearing. The walls you cannot remove deserve a structural assessment before demo day.
Sequencing Trades the Right Way
Trade sequencing is where bathroom renovations most often go wrong. Bringing trades in out of order means completed work gets damaged or has to be redone. The correct sequence for a full gut renovation is:
- Demolition - remove fixtures, tile, drywall, and flooring down to studs and subfloor
- Rough-in inspections - plumber and electrician run new pipes and wiring before walls close
- Inspections - schedule municipal rough-in inspection before covering any work
- Backer board and waterproofing - cement board and waterproof membrane go up in wet zones
- Tile - floor tile first, then wall tile; grout after both are set
- Paint - after tile, before fixtures are installed
- Fixture trim-out - plumber and electrician return to install faucets, toilet, vanity lights, exhaust fan
- Vanity, mirror, accessories - last items installed after all wet and painted surfaces are complete
Don't Book Trades Back-to-Back
Scheduling trades without buffer days between them is one of the most common causes of project delays. Inspections can take several days to schedule, tile mortar needs 24-48 hours to cure before grouting, and paint must dry before fixtures are installed. Build at least 2-3 buffer days between dependent phases.
Coordinating this sequence with multiple contractors requires clear communication and a written schedule. Gaps between trades - waiting for an inspection, waiting for tile to cure - are normal, so build buffer days into your timeline rather than booking trades back-to-back.
Selecting Finishes Without Regret
Finish selection is one area where advance planning pays off directly. Tile lead times, in particular, can stretch four to eight weeks for special orders. If you haven't chosen your floor tile before demo begins, you may find your subcontractors idling - or worse, tiling with whatever's in stock.
Make all finish selections - tile, grout color, fixtures, vanity, hardware - before work starts. Create a physical or digital finish board that documents the exact product name, size, color, and quantity for each element. This board becomes a reference document for every trade on site.
Wet-Area Tile: Prioritize Grip Over Gloss
For shower floors and other wet surfaces, choose tile with a COF (coefficient of friction) rating of 0.60 or higher. Polished or large-format tiles often fall below this threshold and may not meet code for wet-area floors. Ask your tile supplier for the COF rating before purchasing.
When choosing tile for a wet area like a shower floor, prioritize slip resistance (look for a COF - coefficient of friction - rating of 0.60 or higher for wet surfaces) over visual drama. A beautifully veined large-format tile may be slippery when wet and inappropriate for a shower floor regardless of how it looks.
For a cohesive result, approach finish selection the way a full interior design process would: establish your primary material (usually the largest tile surface), then build secondary and accent choices around it. The full interior design process - from brief through material selection - offers a useful framework even for a single-room project.
15-20%
Recommended contingency budget for unforeseen conditions
Industry practice among renovation professionals; commonly cited in contractor and project management guidance.
10-15%
Extra tile to order above measured square footage
Accounts for cuts, breakage, and future repairs; recommended by tile installation industry associations.
¼ inch
Required drain slope per foot of run
Standard plumbing code requirement in most US jurisdictions for proper drain flow.
Budgeting for What You Can't See
Demo day frequently reveals conditions that no pre-renovation inspection could predict: mold behind the shower wall, a rotted subfloor under the toilet, galvanized pipes that must be replaced to bring the home up to code. These discoveries are not contractor surprises - they are a predictable feature of older bathrooms, and your budget should account for them.
A standard practice among experienced project managers is to add a contingency of 15-20% of the total project budget for unforeseen conditions. This is not padding - it is a realistic reserve for work that genuinely could not be scoped until walls were open.
Beyond structural surprises, renovation budgets routinely balloon from overlooked line items: permit fees, debris disposal, temporary toilet rental if you have only one bathroom, hotel stays during extended work, and the cost of re-ordering tile if breakage exceeds your overage allowance (always order 10-15% extra).
Managing the Project to Completion
Even if you hire a general contractor to manage the project, understanding the sequence and scope protects your investment. Request a written scope of work from every trade before signing a contract. The scope should list exactly what is included - and explicitly what is not - so there is no ambiguity about who patches the drywall after the plumber finishes, or who is responsible for hauling away old fixtures.
Establish a single communication channel (email works well for creating a written record) and agree on a weekly check-in with your GC. Walk the job site before each new trade begins and after each rough-in phase is complete. Photograph everything before walls close - pipe locations, wire runs, blocking for grab bars - so you have a record for future reference.
A bathroom renovation, planned thoroughly, is one of the highest-return home improvement projects you can undertake. The investment in planning time at the front end - layout review, permit research, finish selection, trade sequencing - almost always pays back in avoided rework, schedule delays, and budget overruns before the last tile is set.
Single-Bathroom Homes: Plan for Displacement
If the bathroom being renovated is your home's only full bathroom, factor in temporary arrangements from day one. A full gut renovation typically leaves the bathroom unusable for two to four weeks, sometimes longer. Discuss a phased schedule with your contractor, or arrange temporary access to another facility, before demo begins.
The content provided on our blog site traverses numerous categories, offering readers valuable and practical information. Readers can use the editorial team’s research and data to gain more insights into their topics of interest. However, they are requested not to treat the articles as conclusive. The website team cannot be held responsible for differences in data or inaccuracies found across other platforms. Please also note that the site might also miss out on various schemes and offers available that the readers may find more beneficial than the ones we cover.