

Summary
24 items · 45-90 minutes
Why Audit Before You Redecorate?
The urge to repaint, rearrange, or replace furniture can strike without warning - but acting on impulse often leads to rooms that look different without actually working better. A structured interior audit slows that process down in a productive way, helping you understand what each room actually needs before spending time or money on changes.
Think of it as a diagnostic exercise. By moving through your home room by room and asking the same core questions, patterns emerge: recurring storage problems, inconsistent lighting, traffic routes that don't work, or a visual disconnect between adjoining spaces. Those insights become the foundation of a coherent design plan rather than a collection of unrelated updates.
For a deeper look at how this audit feeds into a full project, see our complete interior design process walkthrough - it covers briefs, mood boards, and spatial planning in detail. If you encounter unfamiliar terms during your audit, our interior style glossary defines 30 commonly used design terms.
Tape measure
Record accurate room dimensions, doorway clearances, and furniture sizes for layout planning.
Notepad or notes app
Capture observations, measurements, and priority flags room by room as you work through the audit.
Flashlight or phone torch
Inspect dark corners, inside cupboards, and behind furniture for signs of damage or mold.
Camera or smartphone
Photograph existing conditions in each room to reference during planning or share with trades.
Moisture meter
Detect elevated moisture levels in walls or floors that could indicate leaks or damp issues before decorating.
How to Use This Checklist
Work through one room at a time, ideally during daylight hours so you can assess natural light accurately. Bring a notepad or use a notes app to record observations against each item - don't rely on memory. The checklist is organized into four assessment categories that apply to every room: structure and safety, light and ventilation, layout and flow, and storage and style. Prioritized items marked must address non-negotiable concerns; should items are strongly recommended; nice to have items are worth considering if budget and time allow.
Address Safety and Structure First
No cosmetic update should proceed over an unresolved structural, damp, or electrical issue. Painting over mold, covering cracked plaster, or installing new flooring over a soft subfloor will not fix the underlying problem - it will make it more expensive to address later. If your audit flags anything in this category, get a professional assessment before booking decorators or ordering materials.
If your audit uncovers anything involving structural elements, electrical wiring, plumbing, or mold, pause your decorating plans and consult a licensed professional. Permits and inspections may be required for certain repairs - check your local building codes before proceeding with any work beyond surface cosmetics.
Structure & Safety
Light & Ventilation
Layout & Traffic Flow
Storage & Function
Style & Coherence
Turning Audit Findings Into an Action Plan
Once you've completed the checklist for every room, group your findings into three buckets: fix first (structural, safety, or functional issues that must be resolved before decorating), design decisions (layout changes, lighting upgrades, storage solutions), and style choices (colour, texture, soft furnishings, accessories). This sequence matters - making style decisions before fixing function usually means redoing work.
Pay particular attention to how rooms connect. A hallway that visually clashes with an adjacent living room, or a kitchen whose palette fights the dining area, can undermine the coherence of the whole home even when each room looks reasonable in isolation. Note transitions in flooring, wall colour, and light temperature as part of your audit.
Don't Skip the Transition Spaces
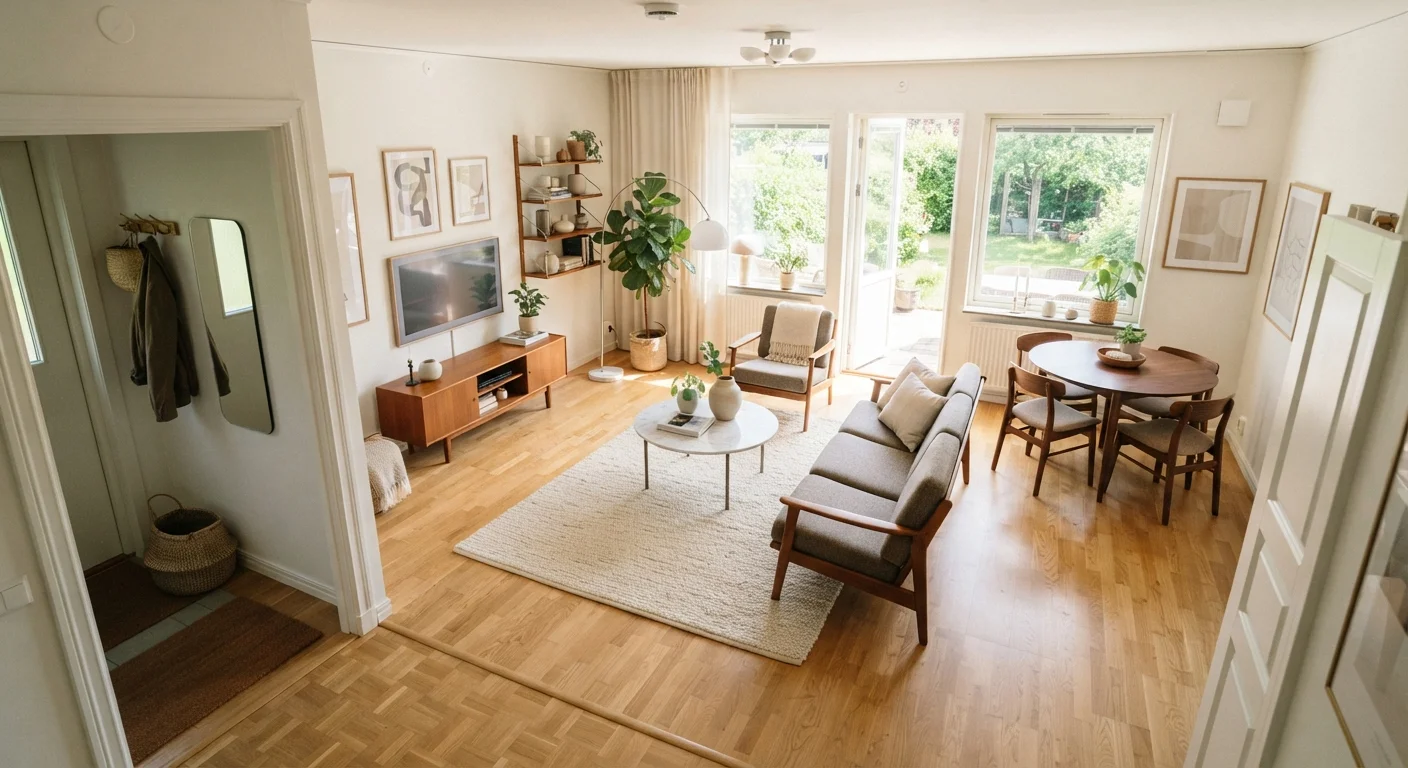
Hallways, landings, and open-plan dividers are often overlooked during audits because they don't feel like 'real' rooms. In practice, they set the visual tone for everything connected to them. An audit that ignores these connective spaces often produces a finished home that feels disjointed even when individual rooms look polished.
For rooms with specific renovation needs - particularly bathrooms - the audit findings feed directly into project planning. Our guide to bathroom renovation planning walks through sequencing trades, layout decisions, and finish selection. Browse the full Home Improvement hub for additional room-specific guidance.
The content provided on our blog site traverses numerous categories, offering readers valuable and practical information. Readers can use the editorial team’s research and data to gain more insights into their topics of interest. However, they are requested not to treat the articles as conclusive. The website team cannot be held responsible for differences in data or inaccuracies found across other platforms. Please also note that the site might also miss out on various schemes and offers available that the readers may find more beneficial than the ones we cover.