

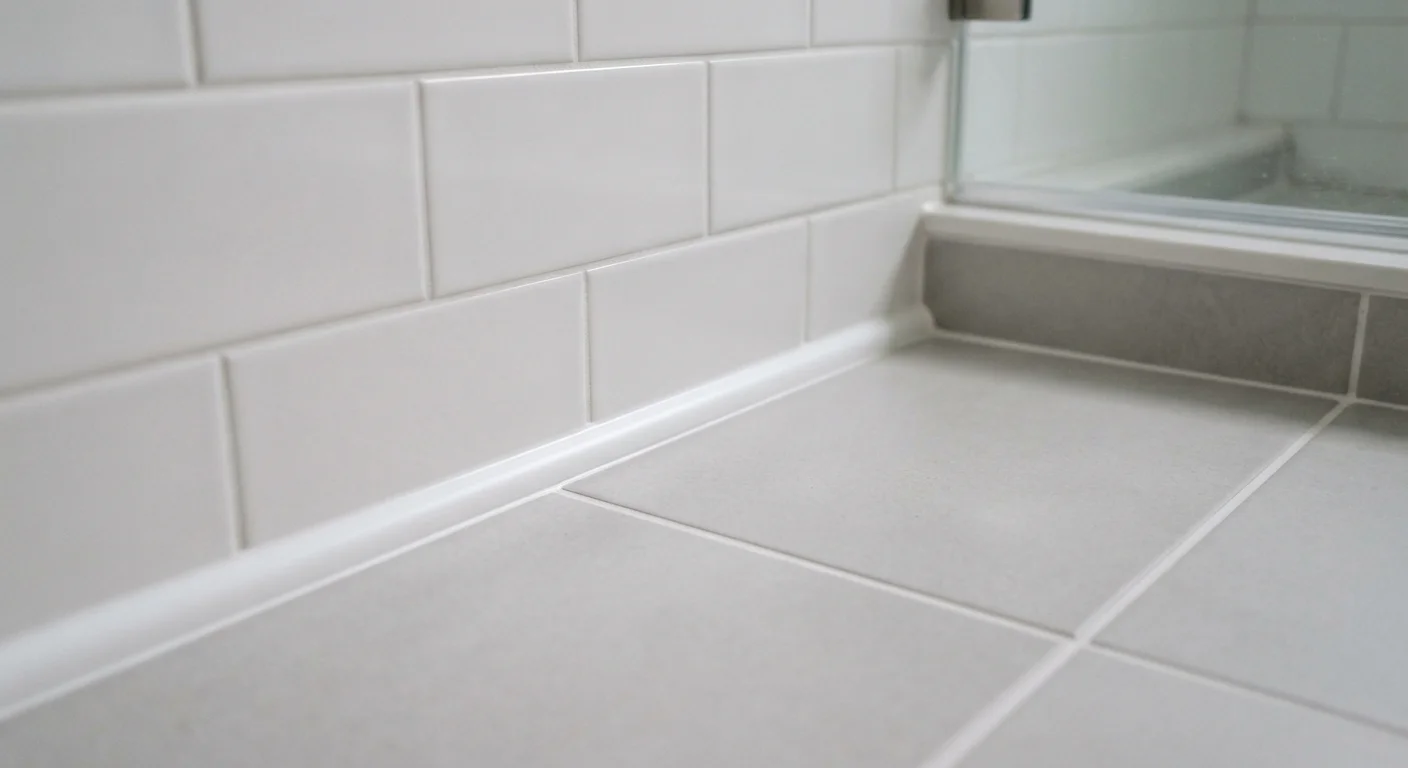
Option A
Grout
The rigid, structural filler for tile field joints.
Best for: Filling the joints between tiles on flat, stable surfaces where no movement or flexing is expected.
Option B
Caulk
The flexible sealant for transitions, corners, and changes in plane.
Best for: Sealing corners, changes in plane, and any joint where two surfaces meet at an angle or where movement may occur.
Why the Right Material in the Right Joint Matters
Grout and caulk look similar once installed, especially when color-matched, but they behave in fundamentally different ways. Grout is a cement-based, rigid material. Caulk is a flexible, polymer-based sealant. Placing a rigid material in a joint that is subject to movement - like an inside corner - results in cracking, and cracked joints in wet areas invite water intrusion that can damage the substrate, framing, and subfloor beneath the tile.
The TCNA Handbook for Ceramic, Glass, and Stone Tile Installation, the industry's primary reference standard, specifies that all changes in plane and intersections of surfaces should be filled with a flexible sealant rather than grout. This is not a matter of aesthetics - it's a structural and waterproofing principle. Understanding it will save you from a common and costly repair. If you're planning a larger project, see our bathroom renovation planning guide for how this fits into the overall sequencing of a tile job.
Where Grout Belongs - and Why
Grout is designed for the joints between tiles on a continuous, stable surface - the field joints on a shower wall, bathroom floor, or backsplash. It bonds to tile edges, resists light abrasion, and provides a uniform, finished appearance. Grout comes in two main types: sanded grout, used for joints wider than 1/8 inch, and unsanded grout, used for narrower joints and polished stone where sand could scratch the surface.
The key principle: grout works where the substrate beneath all the tiles is the same material and behaves as a single unit. A properly installed tile floor on a concrete slab, for example, moves as one piece - the joints between tiles don't open and close, so a rigid filler holds indefinitely. The moment you introduce a corner, a transition to a different material, or a junction with a fixed element like a tub or shower pan, that single-unit assumption breaks down.
| Criterion | Grout | Caulk |
|---|---|---|
| Material composition | Cement-based, rigid when cured | Polymer-based, remains flexible |
| Handles movement | No - cracks under flexing | Yes - compresses and recovers |
| Correct location | Field joints between tiles on same plane | Corners, transitions, changes in plane |
| Waterproofing at corners | Fails over time as cracks form | Maintains seal with proper caulk type |
| Repair difficulty | Requires grinding out and reapplication | Cut out and recaulk; relatively simple |
| Color matching | Wide color range available | Color-matched products widely available |
Where Caulk Is Required - Every Time
Any joint where two planes meet at an angle needs caulk, not grout. This includes:
- Wall-to-floor corners inside a shower or tub surround
- Wall-to-tub or wall-to-shower-pan junctions - the most commonly grouted and later cracked joint in bathrooms
- Inside corners where two tiled walls meet
- Transitions between tile and a different flooring material
- Around penetrations such as pipes, valve trim, and drain flanges
The reason is straightforward: buildings flex. Temperature cycles cause materials to expand and contract daily. Footsteps, settling, and humidity all contribute. A caulk joint - typically silicone or a siliconized latex formulation - can compress and recover with that movement. Rigid grout cannot, and eventually it cracks, usually along the full length of the corner. Once that crack forms, water finds its way behind the tile, and the damage begins well before it's visible. For a broader look at what happens when water isn't properly managed, our article on common waterproofing mistakes explains how small gaps become serious problems.
When a Grout Joint Has Already Cracked at a Corner
If you have an existing corner joint filled with grout that has cracked, the fix is to carefully remove the grout using an oscillating tool or grout saw, clean the joint thoroughly, and replace it with an appropriate caulk. Do not simply apply caulk over cracked grout - the rigid material underneath will prevent proper adhesion and the seal will fail again quickly. Removing all grout from the joint before caulking is the only durable repair.
Choosing and Applying Caulk That Matches Your Grout
One reason homeowners reach for grout in corners is the concern that caulk will look different. Most grout manufacturers offer color-matched caulk lines specifically formulated to coordinate with their grout colors. When applied carefully with a smooth, consistent bead and tooled with a wet finger or caulk tool, the result is virtually seamless.
For wet areas, use a 100% silicone caulk or a siliconized latex caulk rated for wet or kitchen/bath use. Pure silicone offers the best long-term flexibility and mold resistance but is harder to tool neatly and requires mineral spirits for cleanup. Siliconized latex is easier to work with and cleans up with water, though it may require replacement sooner in high-moisture areas. Whichever type you choose, the joint must be clean, dry, and free of old grout or caulk before application. Allow full cure time - typically 24 hours for latex, up to 72 hours for silicone - before water exposure.
If you're still deciding on your flooring material, our comparison of tile versus luxury vinyl plank for bathrooms walks through how each option affects your finishing and sealing decisions.
90%
Of corner cracks caused by wrong material
Tile industry installers commonly report that the vast majority of cracked corner joints result from grout being used where a flexible sealant was required.
1/8"
Minimum joint width for sanded grout
The TCNA recommends sanded grout for joints wider than 1/8 inch and unsanded grout for narrower joints to achieve proper fill and bond.
72 hrs
Typical cure time for 100% silicone caulk
Most 100% silicone caulk products require up to 72 hours of cure time before water exposure; always check the manufacturer's specific instructions.
The content provided on our blog site traverses numerous categories, offering readers valuable and practical information. Readers can use the editorial team’s research and data to gain more insights into their topics of interest. However, they are requested not to treat the articles as conclusive. The website team cannot be held responsible for differences in data or inaccuracies found across other platforms. Please also note that the site might also miss out on various schemes and offers available that the readers may find more beneficial than the ones we cover.