

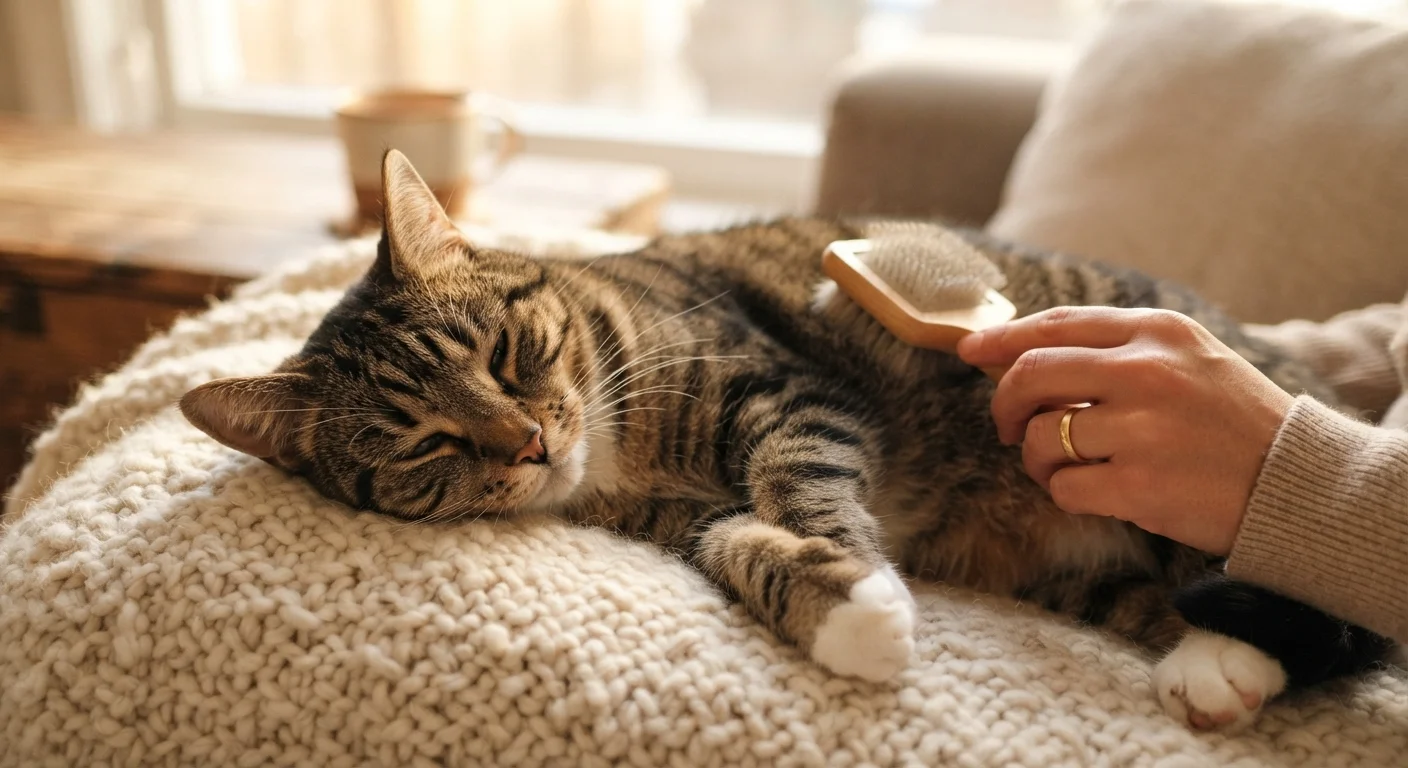
Why Grooming Matters Beyond Appearance
Regular grooming is not simply cosmetic. Brushing removes loose fur and reduces hairball formation - a real digestive concern for cats that self-groom heavily. It also gives you a routine opportunity to check for skin changes, lumps, parasites, and coat condition that might otherwise go unnoticed between veterinary visits. Kept up consistently, grooming is one of the most practical elements of preventive care you can provide at home.
Understanding your cat's behavior during handling is equally important. Cats communicate discomfort through subtle signals - a twitching tail, flattened ears, or skin rippling - before they escalate to scratching or biting. Our field guide to feline body language can help you recognize these early cues and respond before a session deteriorates.
If you are working with a newly adopted cat, be patient. Grooming tolerance is often lower during the adjustment period. See our guide to bringing a cat home for the first time for context on what to expect in those early weeks.
Slicker brush or soft bristle brush
Removes loose fur and debris from the coat without irritating the skin.
Fine-tooth comb (for long-haired cats)
Detangles and removes mats that a brush alone may miss in dense or flowing coats.
Cat nail clippers
Designed to safely trim the curved tip of cat claws without crushing.
Styptic powder
Stops minor bleeding quickly if you accidentally cut into the quick during nail trimming.
Cotton balls or gauze pads
Used with a vet-approved ear-cleaning solution to gently wipe visible ear debris.
Microfiber towel or non-slip mat
Provides a stable, comfortable surface that reduces sliding and anxiety during grooming.
Setting Up and Following the Steps
Preparation makes the difference between a session that goes smoothly and one that ends in retreat. Gather your tools beforehand, choose a consistent grooming spot, and keep sessions short - ten to fifteen minutes is plenty for most cats. Consistency in location and routine helps cats predict what is coming, which reduces anxiety over time.
What you will need
Choose the right moment
Begin a grooming session only when your cat is already calm - after play has wound down or during a natural napping lull. Avoid starting when your cat is alert, restless, or hiding. A relaxed baseline makes every subsequent step easier.
Introduce tools gradually
Let your cat sniff and investigate each grooming tool before you use it. Place the brush on the floor near your cat for a session or two before making contact. This reduces startle responses and associates the tool with neutral curiosity rather than threat.
Brush the coat systematically
Start at the neck and shoulders - areas most cats tolerate well - and work gradually toward the tail, following the direction of fur growth. Keep strokes gentle and short. For long-haired cats, work through tangles with your fingers first, then a wide-tooth comb, before using a slicker brush. Short-haired cats generally need brushing once a week; long-haired cats benefit from a daily session to prevent matting.
Trim the nails
Gently press each toe pad to extend the claw. Identify the pink quick - the blood vessel visible through the nail - and clip only the thin, curved tip beyond it. Clip one or two nails per session if your cat is new to the process, rather than attempting all claws at once. Most cats need nail trims every three to four weeks.
Clean ears when needed
Healthy cat ears require no routine cleaning. Only clean them if you notice a visible buildup of brown or dark debris. Apply a few drops of a vet-approved ear-cleaning solution to a cotton ball - never insert anything into the ear canal - and gently wipe the visible outer ear surface. Stop if your cat shows pain or if you notice dark crumbly material, odor, or redness, as these can indicate infection or ear mites requiring veterinary assessment.
End the session positively
Finish before your cat shows clear discomfort - end on a calm moment, even if you have completed only part of the task. Offer a treat and allow your cat to move away freely. Short, consistently positive sessions accumulate into lasting tolerance far more effectively than infrequent, prolonged ones.
Use High-Value Treats Strategically
Offer a small, soft treat immediately after each grooming task - not during struggle - so your cat associates the experience with something positive. Over several sessions, most cats begin to relax noticeably once they recognize the routine.
Know When to Stop and Reassess
If your cat growls, swipes, or becomes rigid during grooming, stop immediately - continuing risks a scratch or bite and erodes trust. Give your cat space, then try again in a shorter, gentler session later. Persistent skin irritation, lumps, excessive scratching, or foul-smelling ears warrant a veterinary visit, not home treatment.
Grooming is also a natural complement to the broader habits covered in our monthly cat care checklist, which includes coat checks, health observations, and environmental upkeep. For a fuller picture of what ongoing cat ownership involves, see everything cat ownership involves.
This article is for general informational purposes only and does not constitute veterinary advice. If your cat shows signs of skin irritation, persistent ear problems, or behavioral changes during grooming, consult a licensed veterinarian.
The content provided on our blog site traverses numerous categories, offering readers valuable and practical information. Readers can use the editorial team’s research and data to gain more insights into their topics of interest. However, they are requested not to treat the articles as conclusive. The website team cannot be held responsible for differences in data or inaccuracies found across other platforms. Please also note that the site might also miss out on various schemes and offers available that the readers may find more beneficial than the ones we cover.