

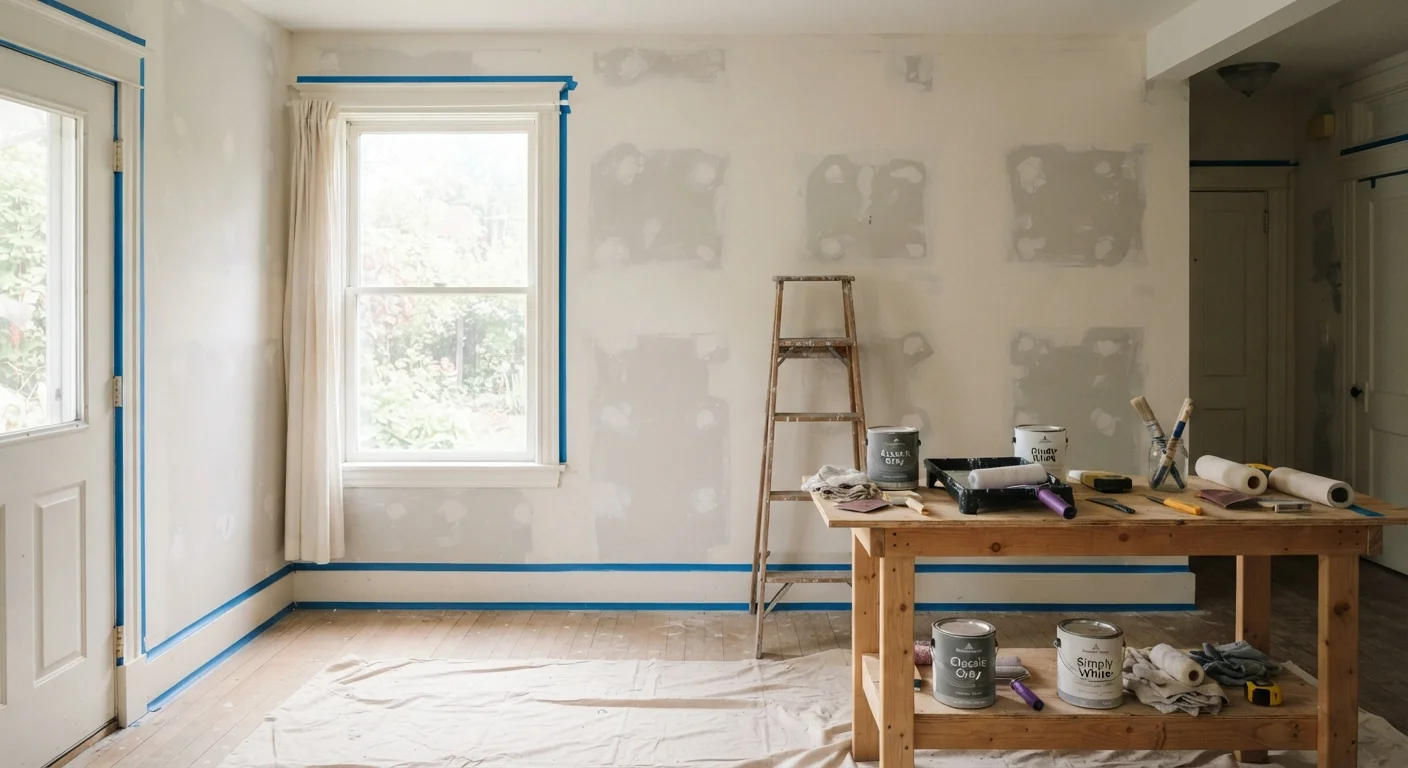
Why Prep Work Determines Paint Longevity
Most paint failures - bubbling, peeling, streaky colour - trace back not to the paint itself, but to what happened (or didn't happen) before the roller touched the wall. Interior painting rewards patience. Rushing past surface preparation almost always means repainting sooner than you planned.
This is especially relevant if you're starting a room decoration project from scratch, where fresh paint is often the first major step. Getting the walls right means every other design element - furniture, lighting, textiles - sits against a surface that actually looks intentional.
The Essential Prep Steps: Clean, Repair, Prime
Surface preparation follows a logical sequence. Each step depends on the one before it, so the order matters as much as the execution.
Step 1 - Clean the Walls Thoroughly
Household walls accumulate cooking grease, hand oils, dust, and mildew - none of which bond well with paint. Wash walls with a mild trisodium phosphate (TSP) substitute solution or a diluted all-purpose cleaner, working from the bottom up to avoid streaking. Rinse with clean water and allow walls to dry completely - typically 24 hours - before proceeding.
Pay particular attention to kitchens, bathrooms, and areas around light switches, where grease and grime concentrate most heavily.
Step 2 - Repair Every Defect
Nail holes, hairline cracks, and dents must be filled before primer goes on. Use lightweight spackling compound for small repairs; for larger damage, consult our guide on drywall repair techniques for holes of any size. Once dry, sand patches flush using 120-grit sandpaper, then feather the edges so repairs blend invisibly into the surrounding surface.
Wipe away all sanding dust with a lightly dampened cloth before moving to primer - dust acts as a barrier that prevents adhesion.
Step 3 - Apply Primer Strategically
Primer is the bridge between your prepared surface and the finish coat. A PVA drywall primer seals bare compound patches and prevents them from absorbing paint unevenly (called flashing). A stain-blocking primer tackles smoke, water stains, or crayon marks. Tinted primer - tinted toward your finish colour - improves coverage and can reduce the number of topcoats needed.
Tint Your Primer Toward the Finish Colour
Ask your paint supplier to tint your primer to roughly 50% of your chosen finish colour. This reduces the number of topcoats needed for full, even coverage - particularly useful with deep or saturated colours. It's a small extra step that saves time and paint on the finish coats.
Allow primer to cure fully per the manufacturer's instructions before sanding lightly with 220-grit paper for a glass-smooth base.
Common Mistakes That Undermine Good Prep
80%
Paint failures linked to poor surface prep
Industry painting professionals and trade guides consistently attribute the large majority of premature paint failures to inadequate surface preparation rather than paint quality.
2-3x
Longer-lasting finish with proper priming
Primed and properly prepped surfaces can extend the effective life of interior paint jobs significantly compared to paint applied directly over unprimed or unwashed walls.
Even experienced DIYers sometimes shortcut the process. The most common errors include skipping the cleaning step entirely, applying paint over damp repairs, and using the wrong primer for the substrate. Painting over an oil-based existing finish with latex paint without proper scuff-sanding and priming is another frequent misstep - the new coat simply won't grip.
Moisture problems on walls are a separate category entirely. If you notice recurring staining or efflorescence, especially in below-grade spaces, surface painting won't address the underlying cause. Understanding what actually works for basement moisture before you paint is essential - otherwise you'll be repainting within months.
“The best paint in the world can't compensate for a poorly prepared surface. Prep is where the real work - and the lasting result - lives.”
— Bob Vila, Home improvement television host and renovation expert
Quick Wins to Start Your Project Right
Before you crack open a paint can, these immediate actions will set your project up for a professional-quality result.
Good surface prep takes time - typically a full day before you even open your finish paint. But that investment pays off in a finish that holds up for years rather than months, and a colour that looks exactly as it did on the chip.
The content provided on our blog site traverses numerous categories, offering readers valuable and practical information. Readers can use the editorial team’s research and data to gain more insights into their topics of interest. However, they are requested not to treat the articles as conclusive. The website team cannot be held responsible for differences in data or inaccuracies found across other platforms. Please also note that the site might also miss out on various schemes and offers available that the readers may find more beneficial than the ones we cover.