

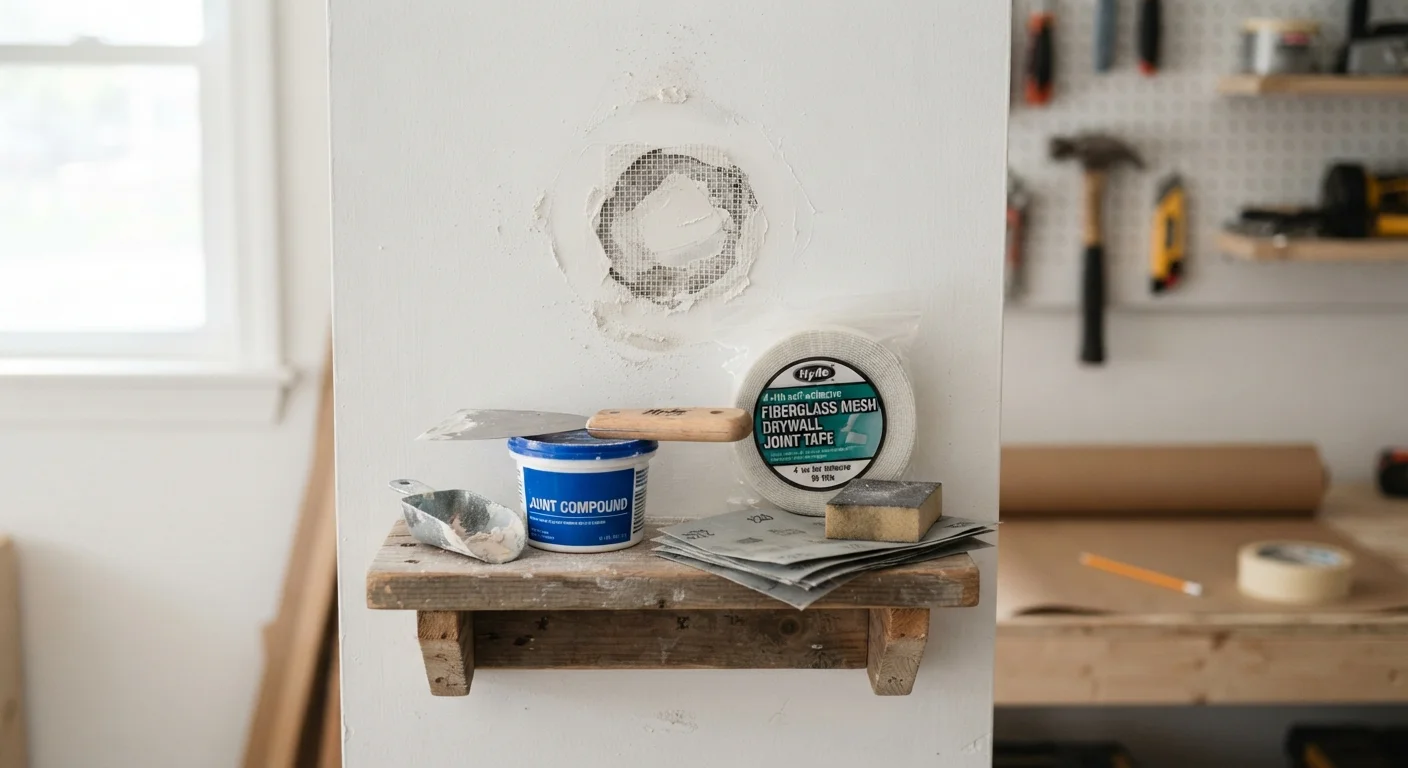
Choosing the Right Repair Method
Not all drywall damage is equal, and matching your technique to the size and type of damage is the first step toward a professional-looking result. Here's a quick breakdown:
- Nail pops and hairline cracks: A small application of joint compound (also called "mud") is usually all that's needed.
- Holes up to 4 inches: Self-adhesive mesh patches work well and don't require cutting or backing support.
- Holes larger than 4 inches: A California patch or a cut-in drywall piece with backing boards gives the structural support compound alone cannot provide.
Before you start, inspect the damage for signs of moisture, mold, or pest activity. If any are present, address the root cause first - applying a cosmetic fix over an active problem will only lead to repeat repairs.
What you will need
Tools and Materials You'll Need
Gather everything before you begin. Stopping mid-repair to find a missing tool often leads to dried compound and uneven results.
Putty knife or drywall knife (4-6 inch)
Applies and smooths joint compound over the repair area.
Self-adhesive mesh patch
Bridges holes up to about 4 inches without requiring backing support.
Joint compound (pre-mixed)
Fills holes, covers mesh, and creates a smooth, paintable surface.
Drywall screws and backing board (1×3 or 1×4 lumber)
Provides structural support for cut-in patches on holes larger than 4 inches.
120- and 220-grit sandpaper
Smooths dried compound between coats and before priming.
Drywall primer (PVA)
Seals the porous compound surface so paint applies evenly.
Utility knife and drywall saw
Cuts clean edges around large damaged areas for precise patch fitting.
Step-by-Step Repair Instructions
Follow these steps in order for repairs of any size. Skip or adapt steps as noted for smaller damage.
Prepare the damaged area
Remove any loose paper facing, crumbling drywall, or protruding nails or screws. For nail pops, drive the nail slightly deeper with a hammer and countersink a drywall screw nearby to hold the panel firmly to the stud. Clean away dust with a dry cloth.
Apply mesh patch or cut in a new piece (for larger holes)
For holes up to 4 inches, center a self-adhesive mesh patch over the opening and press firmly. For larger holes, use a drywall saw to square up the damage into a clean rectangle, then screw 1×3 backing boards into the opening (spanning behind the wall face on each side) before cutting and screwing in a matching piece of drywall.
Apply the first coat of joint compound
Using your putty knife, spread a thin, even layer of pre-mixed joint compound over the patch, extending 2-3 inches beyond the edges onto the surrounding wall. For mesh patches, press compound firmly through the mesh openings to ensure adhesion. Smooth the surface and let dry completely - typically 24 hours depending on humidity and temperature.
Sand, then apply second and third coats
Once the first coat is fully dry, lightly sand with 120-grit sandpaper to knock down ridges. Wipe away dust with a barely damp cloth, then apply a second coat slightly wider than the first, feathering the edges outward. Repeat for a third coat if needed, using 220-grit sandpaper on the final pass for a silky finish.
Prime and paint the repaired area
Apply a coat of PVA drywall primer to the sanded repair and let it dry fully. Then paint to match the surrounding wall. For best results, roll paint over a slightly larger area than the repair to blend the sheen evenly.
Keep Compound Moist While Working
Pre-mixed joint compound dries quickly when exposed to air. Keep the lid on the container between uses and mist the surface lightly if it starts to skin over before you've finished. Never add too much water - compound that's too thin won't build properly and may sag.
Don't Rush the Drying Process
Applying a second coat over compound that hasn't fully dried is one of the most common DIY mistakes. Compound appears to lighten in color as it dries - if any area still looks darker or feels cool to the touch, it needs more time. Using a fan or dehumidifier can safely speed drying in humid conditions.
Getting a Paint-Ready Finish
After your final coat of compound has dried and been sanded smooth, run your hand across the repair and hold a work light at an angle against the wall. This raking light technique reveals any ridges or depressions invisible under normal overhead lighting.
Before painting, always apply a coat of drywall primer (sometimes called PVA primer) to the repaired area. Joint compound is highly porous and will absorb paint unevenly - called flashing - if left unprimed. Once the primer is dry, your patched area should accept paint identically to the surrounding wall.
For textured walls, study the existing texture closely before painting. Common textures like orange peel or knockdown can be approximated with spray texture products or a specific sponge or knife technique. Test on cardboard first to match the pattern before applying to the wall.
Permits and Professional Help
Most cosmetic drywall repairs do not require permits, but significant structural repairs - especially those involving fire-rated walls, garage ceilings, or moisture-damaged sections requiring mold remediation - may require a licensed contractor and local permits. When in doubt, contact your local building department before beginning work.
The content provided on our blog site traverses numerous categories, offering readers valuable and practical information. Readers can use the editorial team’s research and data to gain more insights into their topics of interest. However, they are requested not to treat the articles as conclusive. The website team cannot be held responsible for differences in data or inaccuracies found across other platforms. Please also note that the site might also miss out on various schemes and offers available that the readers may find more beneficial than the ones we cover.