

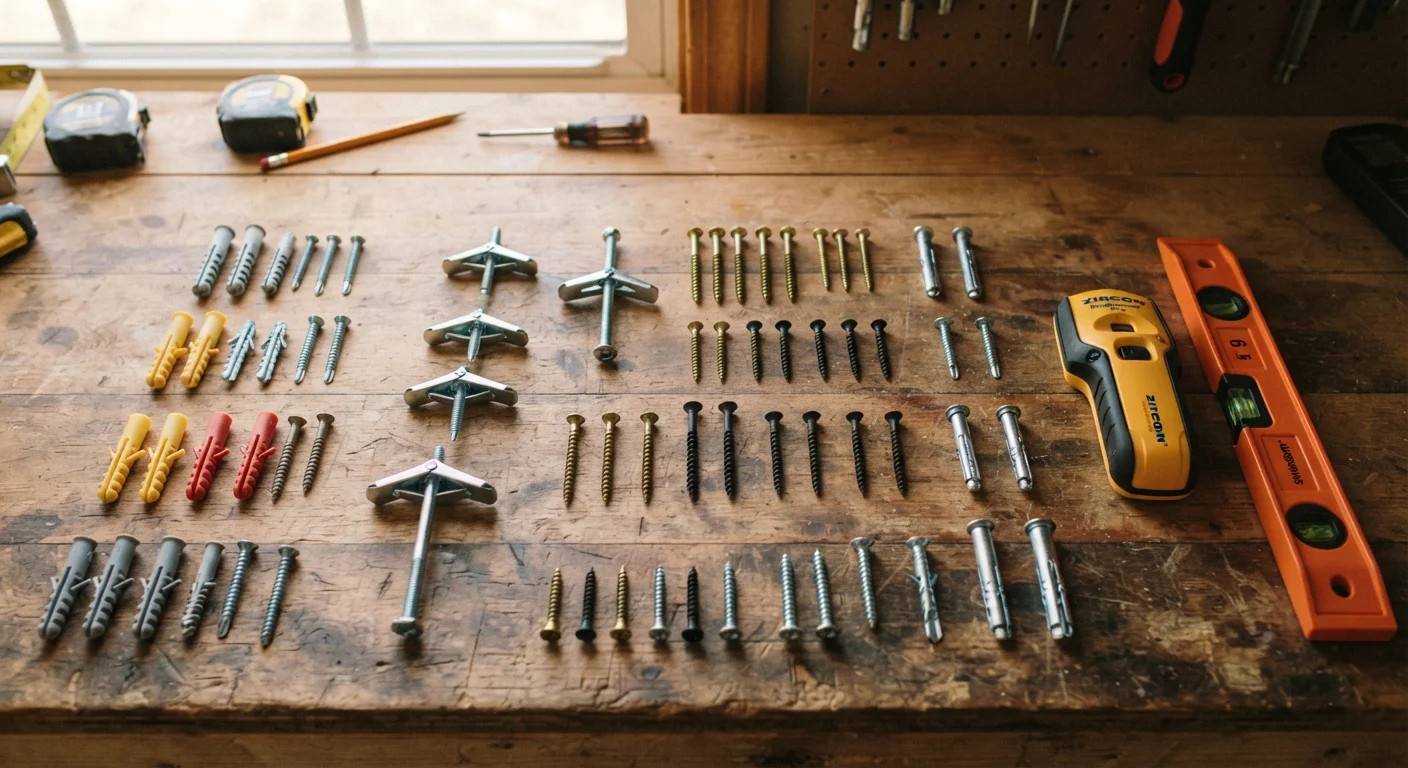
Understanding Your Wall Before You Drill
Most hanging failures happen not because a homeowner chose a weak anchor, but because they chose the wrong anchor for their wall type. Drywall, plaster-over-lath, concrete block, and brick each require a completely different fastening strategy - and a plastic expansion anchor that works fine in drywall will fail immediately in hollow concrete block.
Your first step is identifying what your wall is made of. Knock gently: a hollow sound indicates drywall or plaster over a stud cavity. A dense, solid thud suggests masonry. If you're in an older home (pre-1950), plaster-over-lath is common - this is harder than modern drywall and requires different anchor sizing. For anything involving walls you're unsure about, review what's inside your walls first before committing to a drill location.
| Standard stud spacing | 16 inches on center (sometimes 24 inches) (US residential framing convention) |
| Common drywall thickness | ½ inch (interior walls); ⅝ inch (ceilings, fire-rated) (Standard US residential construction) |
| Typical plastic anchor max load | 20-50 lbs shear (varies by size) (Manufacturer general ratings) |
| Toggle bolt max load | 50-200+ lbs shear (size dependent) (Manufacturer general ratings) |
| Screw into wood stud max load | 100+ lbs per screw (with proper embedment) (General structural framing guidance) |
| Wall types requiring masonry anchors | Concrete block, brick, poured concrete |
Anchor Types and When to Use Each
Choosing the right anchor starts with two questions: How heavy is the load, and can you reach a stud? If you can hit a stud, a wood screw with adequate embedment (at least 1¼ inches into the stud) is almost always your strongest option. For everything else, match the anchor to the wall material and load.
Stud
A vertical framing member, typically wood (2×4 or 2×6), hidden behind drywall. Studs provide the strongest possible anchor point for heavy loads and are spaced 16 or 24 inches apart in most US homes.
Shear load
A downward or sideways force acting perpendicular to a fastener - the kind generated when something hangs on a wall. Anchors are rated for shear load, not just pull-out force.
Pull-out strength
The maximum tensile force required to yank a fastener directly out of the wall material. This rating is distinct from shear load and matters for items like pegboards or shelving brackets.
Toggle bolt
A hollow-wall anchor with spring-loaded or gravity wings that expand behind the wallboard once inserted. Toggle bolts distribute load over a wider area and handle heavier weights than plastic expansion anchors.
Expansion anchor
A plastic or metal sleeve that expands as a screw is driven into it, gripping the surrounding wall material. Best suited for light to medium loads in drywall, plaster, or masonry.
Snap toggle
A newer style of hollow-wall anchor using a metal bar that locks flat behind the drywall. It allows the bolt to be removed and reinserted without the anchor falling inside the wall cavity.
Light Loads (Under 20 lbs)
Small plastic expansion anchors are adequate for picture frames, small mirrors, and light shelving in drywall. Pre-drill to the anchor's specified diameter, tap it flush, and drive the screw until snug - never overtighten, which strips the grip.
Medium Loads (20-75 lbs)
Self-drilling drywall anchors (threaded zinc or nylon) work without a pre-drilled hole and offer better holding power than standard plastic sleeves. For this weight range, toggle bolts are even more reliable and worth the slightly larger hole they require.
Heavy Loads (75 lbs and Above)
For TVs, heavy shelving, grab bars, or cabinetry, use snap toggles or standard toggle bolts rated for the load - or, ideally, locate a stud. Never exceed the manufacturer's rated load, and apply the general principle of using an anchor rated for at least three times your expected hanging weight.
16"
Typical spacing between wall studs
Most US homes built after 1950 use 16-inch on-center framing, though 24-inch spacing is common in newer construction.
50-200 lbs
Load range for toggle bolts in drywall
Load capacity varies significantly by bolt diameter and drywall thickness; always confirm with manufacturer specifications.
3×
Safety factor recommended for anchored loads
Structural and hardware guidelines generally recommend choosing an anchor rated for at least three times the expected hanging weight.
Masonry Walls
Concrete and brick require hammer-drill-set sleeve anchors or wedge anchors. Standard drywall anchors will not grip masonry. Use a carbide-tipped masonry bit sized to match the anchor sleeve diameter exactly.
Finding Studs Reliably
Electronic stud finders are the most practical tool for locating framing, but they require correct technique. Always calibrate on a blank section of wall before scanning. Slow, deliberate passes catch the stud edges - mark both edges, then center your drill between them for the most reliable bite.
As a backup, the knock and nail method works: tap along the wall and listen for the sound to change from hollow to solid, then probe with a thin finish nail to confirm the stud location before drilling a full hole. Electrical outlets and light switches are almost always mounted to the side of a stud, which gives you a reliable starting reference point.
When to Call a Professional
Hanging items on load-bearing walls, mounting heavy cabinetry through tile or plaster, or any installation requiring structural modification is best assessed by a licensed contractor. Understanding which walls can be modified - and which cannot - is foundational to safe home improvement. Learn about load-bearing walls before drilling into any wall you're uncertain about.
Once you've located a stud, mark it at the top and bottom of the wall section with painter's tape so you can reference it for multiple fasteners without re-scanning each time.
This article provides general educational information about wall anchors and fastening techniques. It is not a substitute for advice from a licensed contractor, and load requirements for specific installations - especially safety-critical items like grab bars or heavy shelving - should be verified by a qualified professional. Always check local building codes before beginning any home improvement project.
The content provided on our blog site traverses numerous categories, offering readers valuable and practical information. Readers can use the editorial team’s research and data to gain more insights into their topics of interest. However, they are requested not to treat the articles as conclusive. The website team cannot be held responsible for differences in data or inaccuracies found across other platforms. Please also note that the site might also miss out on various schemes and offers available that the readers may find more beneficial than the ones we cover.