

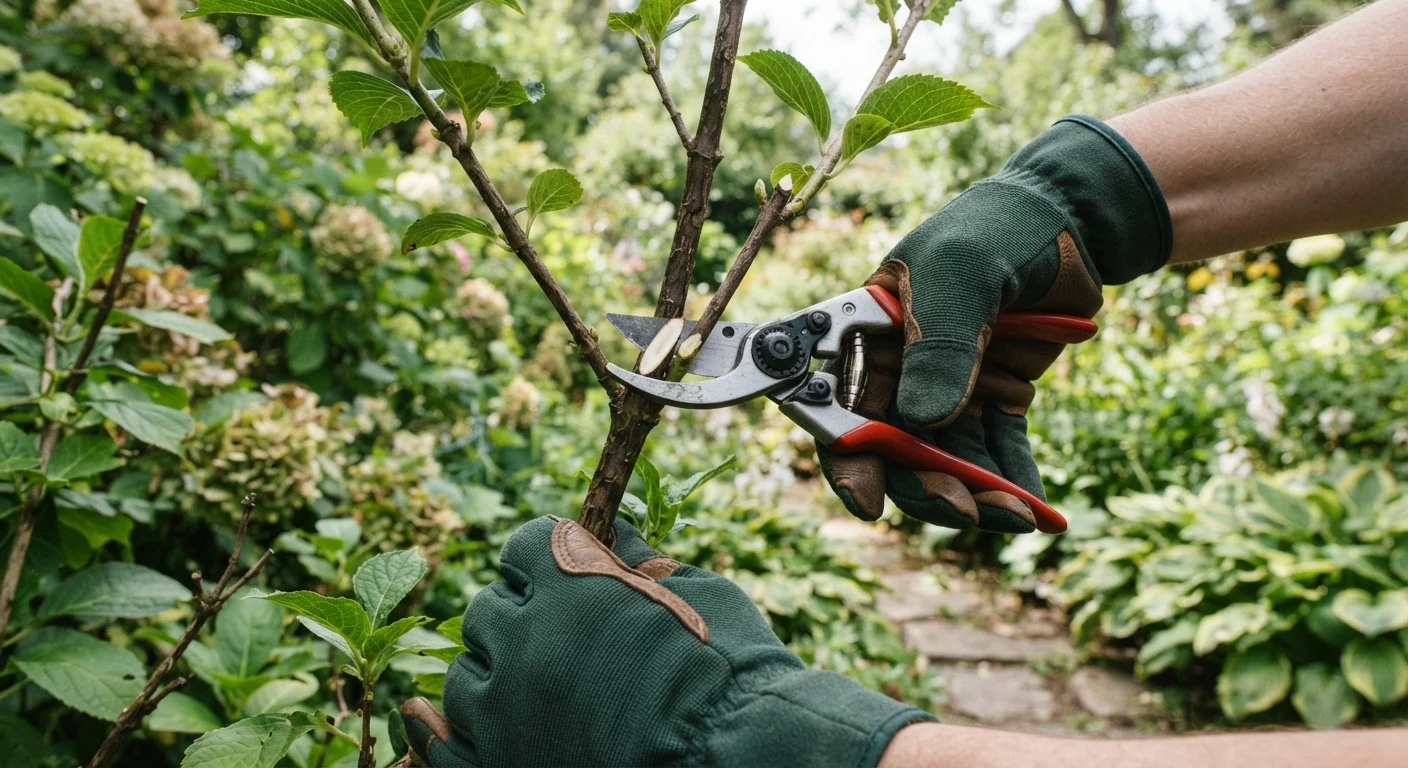
Why Pruning Done Wrong Causes Lasting Problems
Pruning is one of the most powerful tools in garden care - and one of the most commonly misapplied. When done correctly, it improves plant structure, encourages vigorous growth, and reduces disease pressure. When done incorrectly, it can disfigure a tree for decades, trigger weak regrowth that never recovers its form, or create large wounds that become persistent entry points for rot and pests.
The most damaging mistakes aren't dramatic acts - they're repeated small habits: pruning spring bloomers in fall, leaving stubs that slowly die back into the trunk, or reaching for the shears at the same time every year regardless of what each individual plant needs. Understanding the logic behind pruning decisions protects not just the plants you cut today, but their long-term structure and health for years ahead.
If you're working toward a lower-maintenance garden overall, pairing good pruning habits with thoughtful plant selection helps enormously. Our guide to low-maintenance perennials covers plants that demand less intervention in the first place.
What you will need
Tools, Timing, and Step-by-Step Pruning
The equipment you use and the sequence you follow determine whether your pruning session leaves plants healthier or sets them back. Below you'll find the tools worth having on hand, followed by the full pruning process in order.
Bypass Pruning Shears
Makes clean scissor-like cuts on stems and branches up to about ¾ inch thick.
Loppers
Extends reach and cutting leverage for branches between ¾ inch and 2 inches thick.
Pruning Saw
Cuts through larger woody branches on trees or mature shrubs where loppers cannot fit.
Rubbing Alcohol or 10% Bleach Solution
Sanitizes blade surfaces between plants to prevent spreading fungal or bacterial disease.
Sharpening Stone or File
Keeps blade edges sharp so cuts are clean rather than crushing plant tissue.
Identify the right pruning window for each plant
Before picking up any tool, confirm when your specific plant should be pruned. The general rule is straightforward: spring-blooming shrubs (lilacs, forsythia, azaleas) set their flower buds on last year's wood, so prune them shortly after they finish blooming - not in fall or late winter, or you will cut off next year's flowers. Summer-blooming shrubs (rose of Sharon, butterfly bush, crape myrtle) bloom on new growth produced in the current season, so they tolerate late-winter or early-spring pruning before growth begins. Most deciduous trees are best pruned while dormant in late winter, when the branch structure is clearly visible and wounds heal quickly as growth resumes in spring.
Clean and sharpen your tools before starting
Wipe blades with rubbing alcohol or a diluted bleach solution and allow them to air-dry before use. A sharp bypass pruner makes a smooth, angled cut; a dull one crushes and tears, leaving ragged edges that heal slowly and invite fungi and bacteria. If your shears leave a noticeably crushed stem rather than a clean slice, sharpen the cutting blade with a fine sharpening stone before proceeding.
Assess the plant and plan your cuts
Step back and examine the plant's overall structure before making a single cut. Look for:
- Dead, damaged, or diseased wood - these are always the first priority regardless of season.
- Crossing or rubbing branches - friction creates wounds; remove the weaker of the two.
- Inward-growing branches - these crowd the canopy center, reducing airflow and light penetration.
- Suckers and water sprouts - vigorous vertical shoots from the base or along branches that drain energy without contributing structure.
Removing these categories alone is often enough to noticeably improve plant health without risking over-pruning.
Make cuts at the correct location
Where you cut matters as much as when. Follow these placement rules:
- Above a bud or lateral branch: On shrubs, cut ¼ inch above an outward-facing bud at a slight angle (roughly 45°) so water sheds away from the bud. This directs new growth outward, opening the center.
- At the branch collar on trees: The branch collar is the slightly swollen ring of tissue where a branch meets the trunk or a larger limb. Cut just outside this collar - never flush with the trunk and never leaving a long stub. The collar contains specialized cells that wall off wounds; damaging or removing it dramatically slows healing.
- Avoid flush cuts and stub cuts: A flush cut removes the collar entirely; a stub cut leaves dead wood that decays inward. Both are among the most common causes of long-term tree damage.
Use the three-cut method for large branches
Removing a heavy branch in one cut risks tearing the bark downward as the branch falls. Instead, use three cuts:
- Undercut: Saw partway through the underside of the branch about 12-18 inches from the trunk. This prevents bark from peeling when the branch drops.
- Top cut: Move slightly further out from the trunk and cut down through the top of the branch until it drops cleanly.
- Final cut: Remove the remaining stub by cutting just outside the branch collar with your saw.
For branches thicker than about 4 inches or positioned overhead, consider consulting a certified arborist - improper removal of large limbs carries real risk of injury and structural damage.
Clean up and monitor the plant afterward
Collect and remove all cut material from around the plant. Diseased prunings should be bagged and disposed of rather than composted, to avoid spreading pathogens. Give the plant a thorough watering if conditions are dry - pruning stresses a plant and consistent moisture supports recovery. Over the following weeks, watch for any dieback near cuts, unusual discoloration, or signs of pest activity, and address them early.
When to Call a Certified Arborist
Pruning tasks involving large branches near structures, overhead power lines, or mature trees with complex canopies are best left to professionals. A certified arborist can assess structural risk, use proper rigging, and identify disease or decay that isn't visible to the untrained eye. Attempting high or heavy work without the right training and equipment carries genuine safety risk.
Once you've completed your pruning, fall is often the natural next step in the garden calendar. Our seasonal guide to winter garden prep covers what else needs attention as temperatures drop - from protecting tender plants to storing tools properly.
The content provided on our blog site traverses numerous categories, offering readers valuable and practical information. Readers can use the editorial team’s research and data to gain more insights into their topics of interest. However, they are requested not to treat the articles as conclusive. The website team cannot be held responsible for differences in data or inaccuracies found across other platforms. Please also note that the site might also miss out on various schemes and offers available that the readers may find more beneficial than the ones we cover.